History API를 이용해 React SPA 구현하기
History API를 이용해 간단한 SPA React 라우터를 만들어보려고 합니다. 구현하고자 하는 코드는 아래와 같습니다.
// main.ts
createRoot(document.getElementById('root')!).render(
  <StrictMode>
    <Router>
      <Route element={<App />} path="/" />
      <Route element={<About />} path="/about" />
    </Router>
  </StrictMode>,
);
우선 기존 React Router와 같이 Router 래퍼 컴포넌트와 Route 컴포넌트를 이용하여 라우팅 처리를 할 예정입니다. Route 컴포넌트는 element와 path를 prop으로 받고 있습니다.
컴포넌트에서는 useNavigate 훅을 사용해 간편하게 라우팅할 수 있도록 만들겠습니다.
// App.tsx
export default function App() {
  const { navigate } = useNavigate();
  const handleNavigate = () => {
    navigate('/about');
  };
  return (
    ...
  );
}
SPA를 만들기 위해서 History API를 사용하려 합니다. History는 mdn에서 다음과 같이 설명하고 있습니다.
History 인터페이스는 브라우저의 세션 기록, 즉 현재 페이지를 불러온 탭 또는 프레임의 방문 기록을 조작할 수 있는 방법을 제공합니다.
History API는 브라우저에 환경에서 제공되는 Web API입니다. History 객체는 length와 state, scrollRestoration 속성과 back(), forward(), go(), pushState(), replaceState() 메서드를 제공하고 있습니다.
pushState()
pushState를 사용해 SPA를 구현할 수 있습니다. pushState는 세션 기록에 항목을 추가하는 메서드입니다. url은 변경되지만 리렌더링은 발생하지 않습니다.
pushState(state, title, url);pushState는 3개의 매개변수를 받고 있습니다.
state
다음 페이지에서 넘겨줄 값입니다. react router의 state와 같습니다. history.state를 통해 확인할 수 있습니다.
title (unused)
대부분의 브라우저에서 이 매개변수는 무시됩니다. 빈 문자열을 전달하는 것이 이후 메서드 변경에 대비하는 데 더 안전합니다.
url
변경할 url 주소
// App.tsx
export default function App() {
  return (
    <div className="flex flex-1 flex-col items-center justify-center gap-5">
      <h1 className="text-5xl">App Page</h1>
      <button
        onClick={() => history.pushState(null, '', '/about')}
        className="rounded-sm bg-blue-500 p-3 text-white"
      >
        페이지 이동
      </button>
    </div>
  );
}
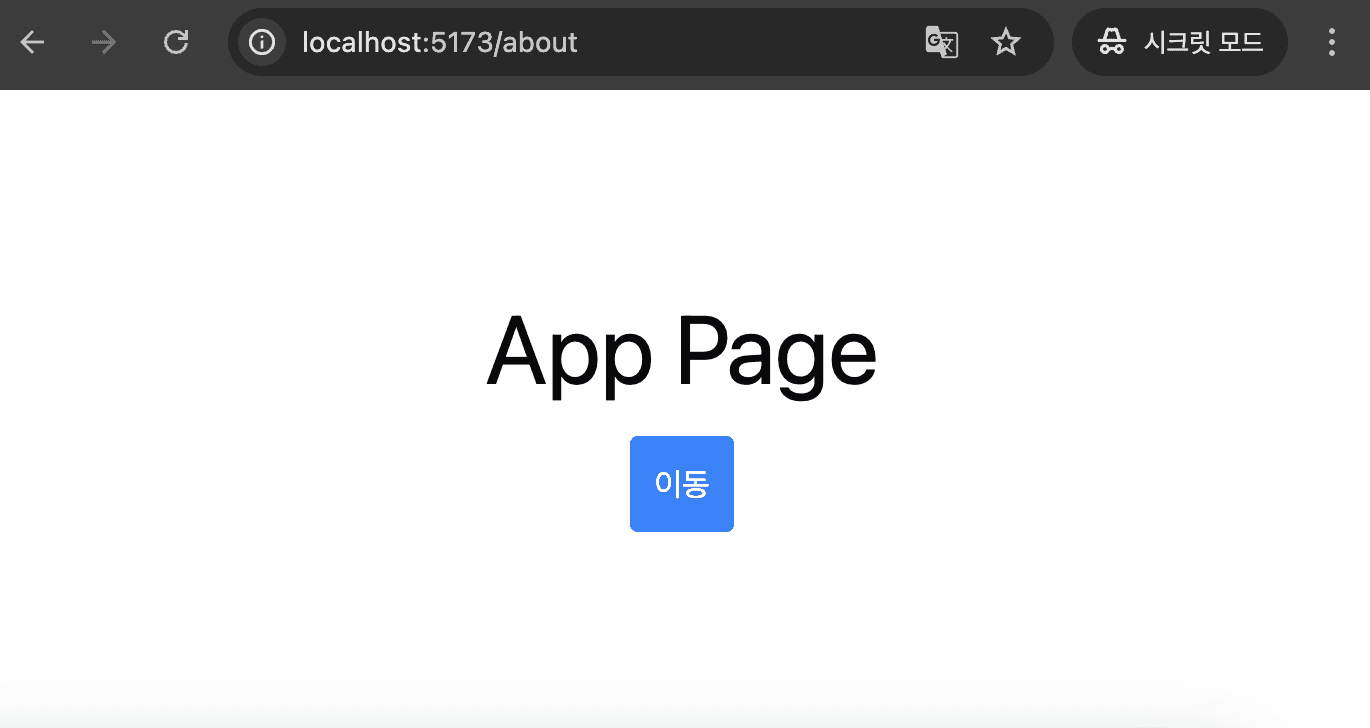
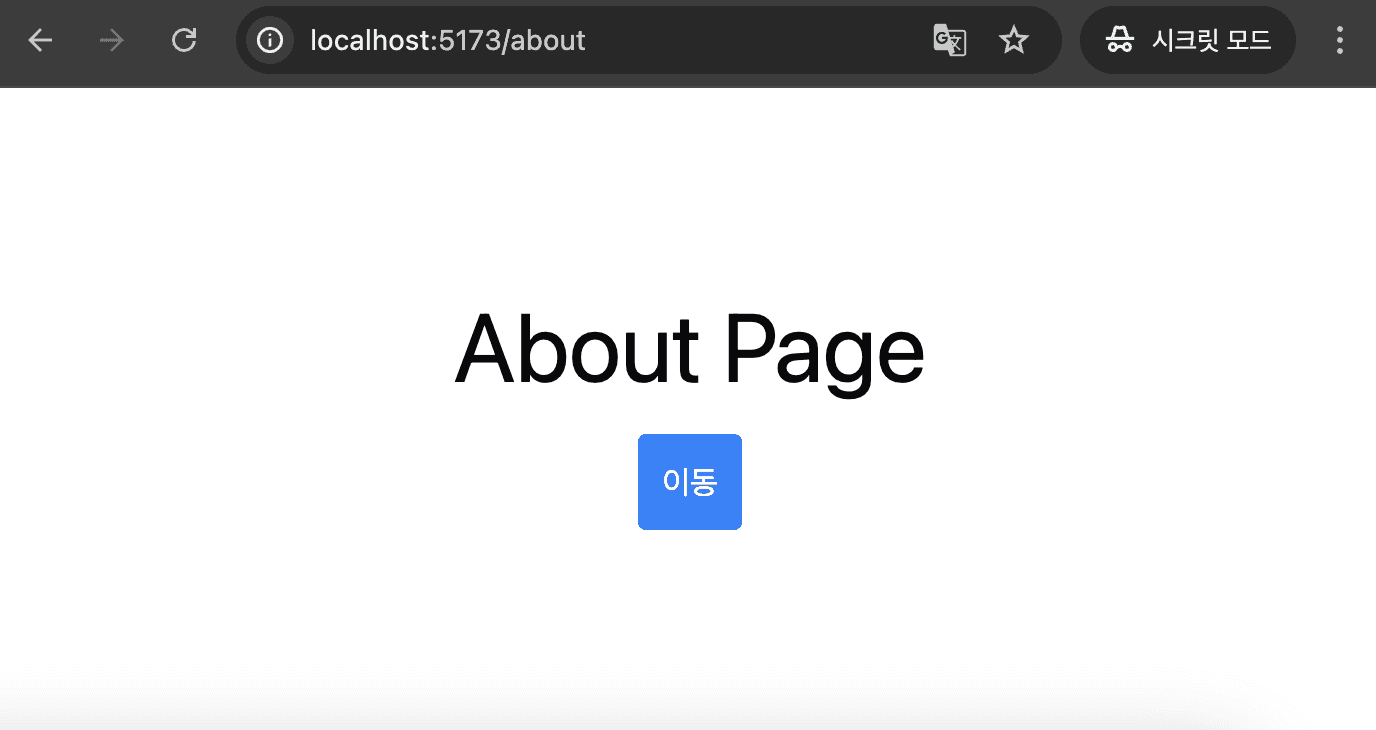
버튼을 하나 만들고 pushState 메서드를 핸들러에 등록하여 버튼을 클릭하면 /about 페이지로 url이 변경되었지만 랜더링된 페이지는 아직 App Page인 걸 볼 수 있습니다.

어떻게 하면 컴포넌트를 url과 일치시킬 수 있을까요? useState를 사용해 상태를 만들어 pushState 메서드를 실행할 때 상태를 변경하면 페이지를 일치시킬 수 있을 것 같습니다. 다른 상태를 바라보지 않게 context를 사용해 전역 상태로 관리하겠습니다. 본격적으로 라우터를 만들어보겠습니다.
우선 Router 컴포넌트와 Route 컴포넌트를 만듭니다.
// Router.tsx
interface RouterProps {
  children: React.ReactNode;
}

interface RouteProps {
  path: string;
  element: JSX.Element;
}

function Route({ element, path }: RouteProps) {
  const { pathname } = usePathname();
  if (pathname !== path) return null;
  return element;
}

function Router({ children }: RouterProps) {
  const [pathname, setPathname] = useState(location.pathname);

  return (
    <RouterContext.Provider value={{ pathname, setPathname }}>
      {children}
    </RouterContext.Provider>
  );
}

export { Router, Route };
Router를 부모 컴포넌트로 감싼 후 pathname state를 context 값으로 넘겨줍니다.
Route 컴포넌트에서는 해당 값을 받아와 path prop과 일치하는 컴포넌트만 리턴합니다.
// main.ts
<Router>
  <Route element={<App />} path="/" />
  <Route element={<About />} path="/about" />
</Router>
context api는 커스텀 훅으로 관리하겠습니다. 값이 undefined일 경우 에러 처리를 하였습니다.
// usePathname.ts
const RouterContext = createContext<
  | {
      pathname: string;
      setPathname: Dispatch<SetStateAction<string>>;
    }
  | undefined
>(undefined);

export const usePathname = () => {
  const context = useContext(RouterContext);
  if (!context) throw new Error('RouterContext provider not found');
  return context;
};

export default RouterContext;
컴포넌트에서 편하게 사용할 useNavigate 훅을 만들었습니다. navigate 함수를 반환하는데 이 함수는 인자로 pathanme을 받아 pushState 메서드를 실행하고 상태를 변경합니다.
// useNavigate.ts
function useNavigate() {
  const { setPathname } = usePathname();
  const navigate = (pathname: string) => {
    history.pushState(null, '', pathname);
    setPathname(pathname);
  };
  return { navigate };
}

export { useNavigate };
이제 App 컴포넌트에서는 다음과 같이 사용할 수 있습니다. navigate 함수가 실행될 때 상태가 변경되면서 컴포넌트도 바뀌는 것을 확인할 수 있습니다.
// App.tsx
export default function App() {
  const { navigate } = useNavigate();

  return (
    <div className="flex flex-1 flex-col items-center justify-center gap-5">
      <h1 className="text-5xl">App Page</h1>
      <button
        onClick={() => navigate('/about')}
        className="rounded-sm bg-blue-500 p-3 text-white"
      >
        이동
      </button>
    </div>
  );
}
한 가지 문제가 있는데요. 브라우저에서 제공하는 뒤로가기 버튼을 누를 때는 여전히 페이지가 렌더링되지 않습니다.
popstate
window 인터페이스에서 popstate 이벤트가 존재합니다. 이 이벤트는 세션 기록 탐색으로 항목이 변경될 때 발생하는데요. 뒤로가기나 앞으로가기 버튼을 클릭할 때도 이 이벤트가 실행됩니다. 주의해야 할 점은 history.pushState() 또는 history.replaceState()는 popstate 이벤트를 발생시키지 않습니다.
다음과 같이 useEffect 훅에서 popstate 이벤트 리스너를 추가하여 상태를 변경하면 뒤로가기, 앞으로가기 버튼을 클릭할 때도 페이지가 리렌더링되는 것을 확인할 수 있습니다.
// Router.tsx
function Router({ children }: RouterProps) {
  const [pathname, setPathname] = useState(location.pathname);

  useEffect(() => {
    const handlePopState = () => {
      setPathname(location.pathname);
    };

    window.addEventListener("popstate", handlePopState);
    return () => {
      window.removeEventListener("popstate", handlePopState);
    };
  }, []);

  return (
    ...
  )
}
이렇게 History API를 통해 간단하게 React SPA Router를 구현해 보았습니다.